
STEP#1: Concrete Prep
The most important step for a floor that lasts. Our diamond-grinding process removes surface imperfections and "opens" the concrete. This creates the perfect texture for our epoxy to grab onto, guaranteeing a professional-grade finish that stays put.
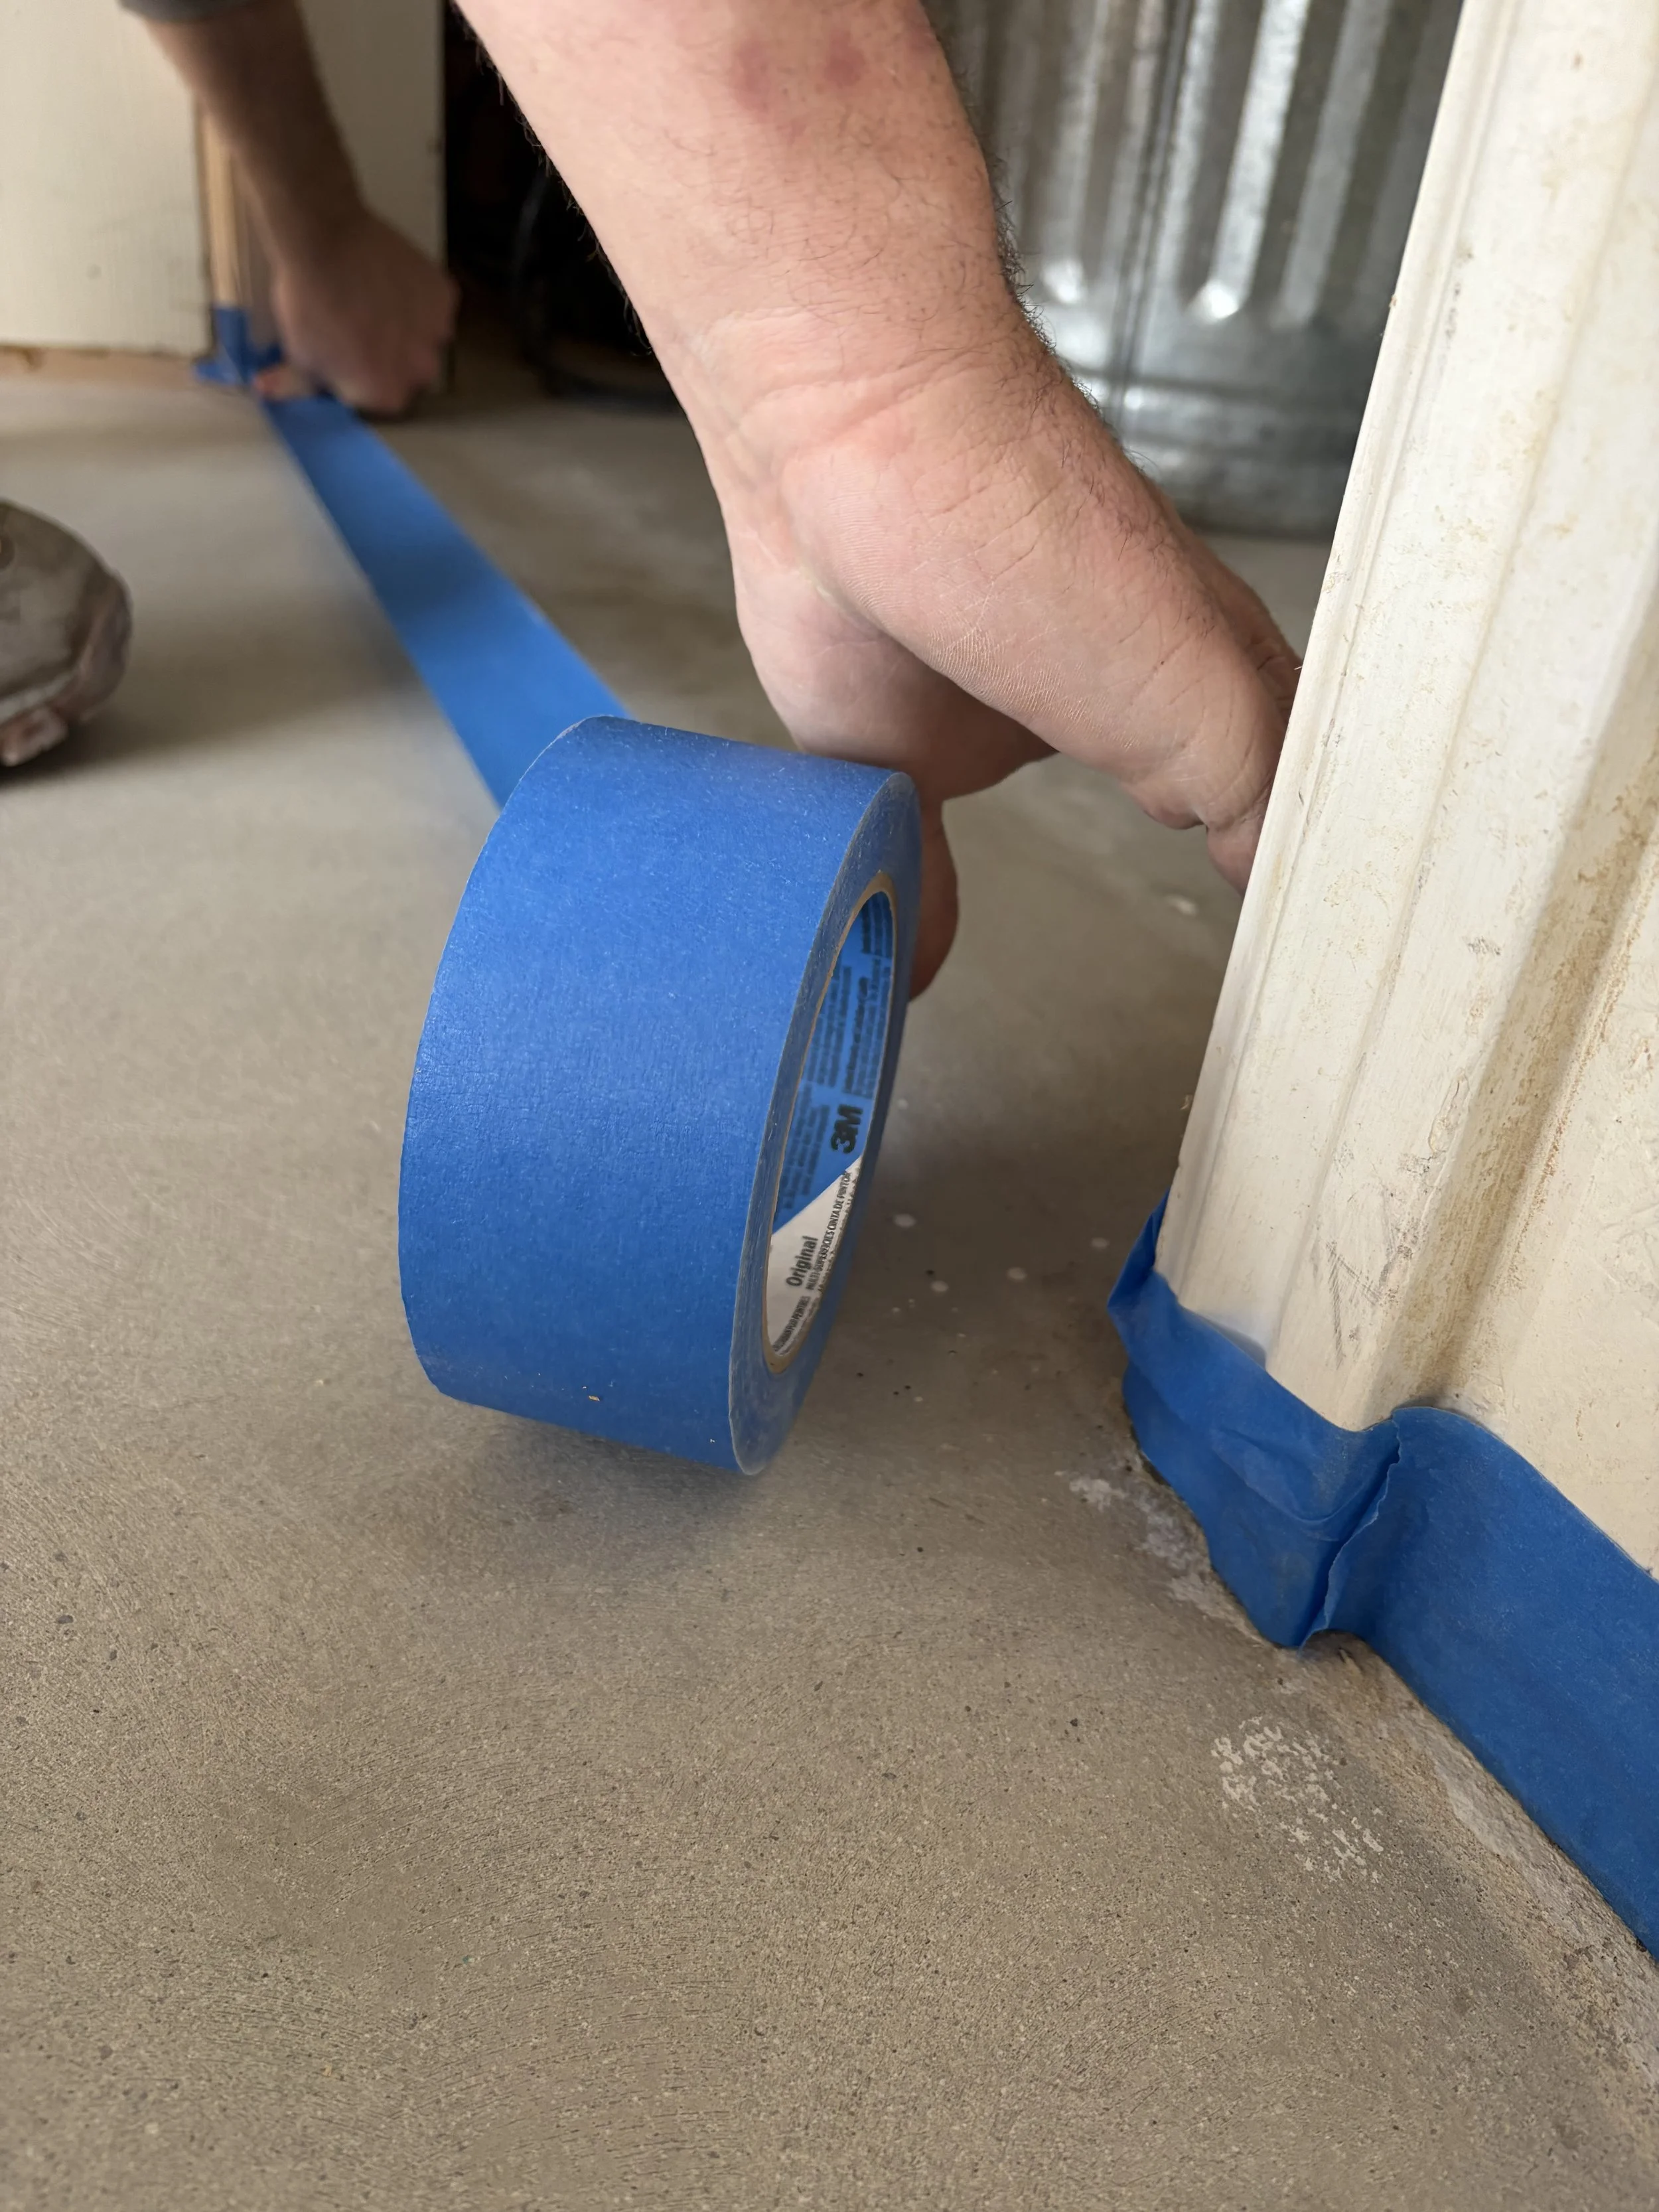
STEP #2: Clean and tape
Cleanliness is key. We vacuum and sweep the entire floor to ensure a debris-free surface for the epoxy pour. Finally, we tape and protect your walls and cabinets for a sharp, professional edge.
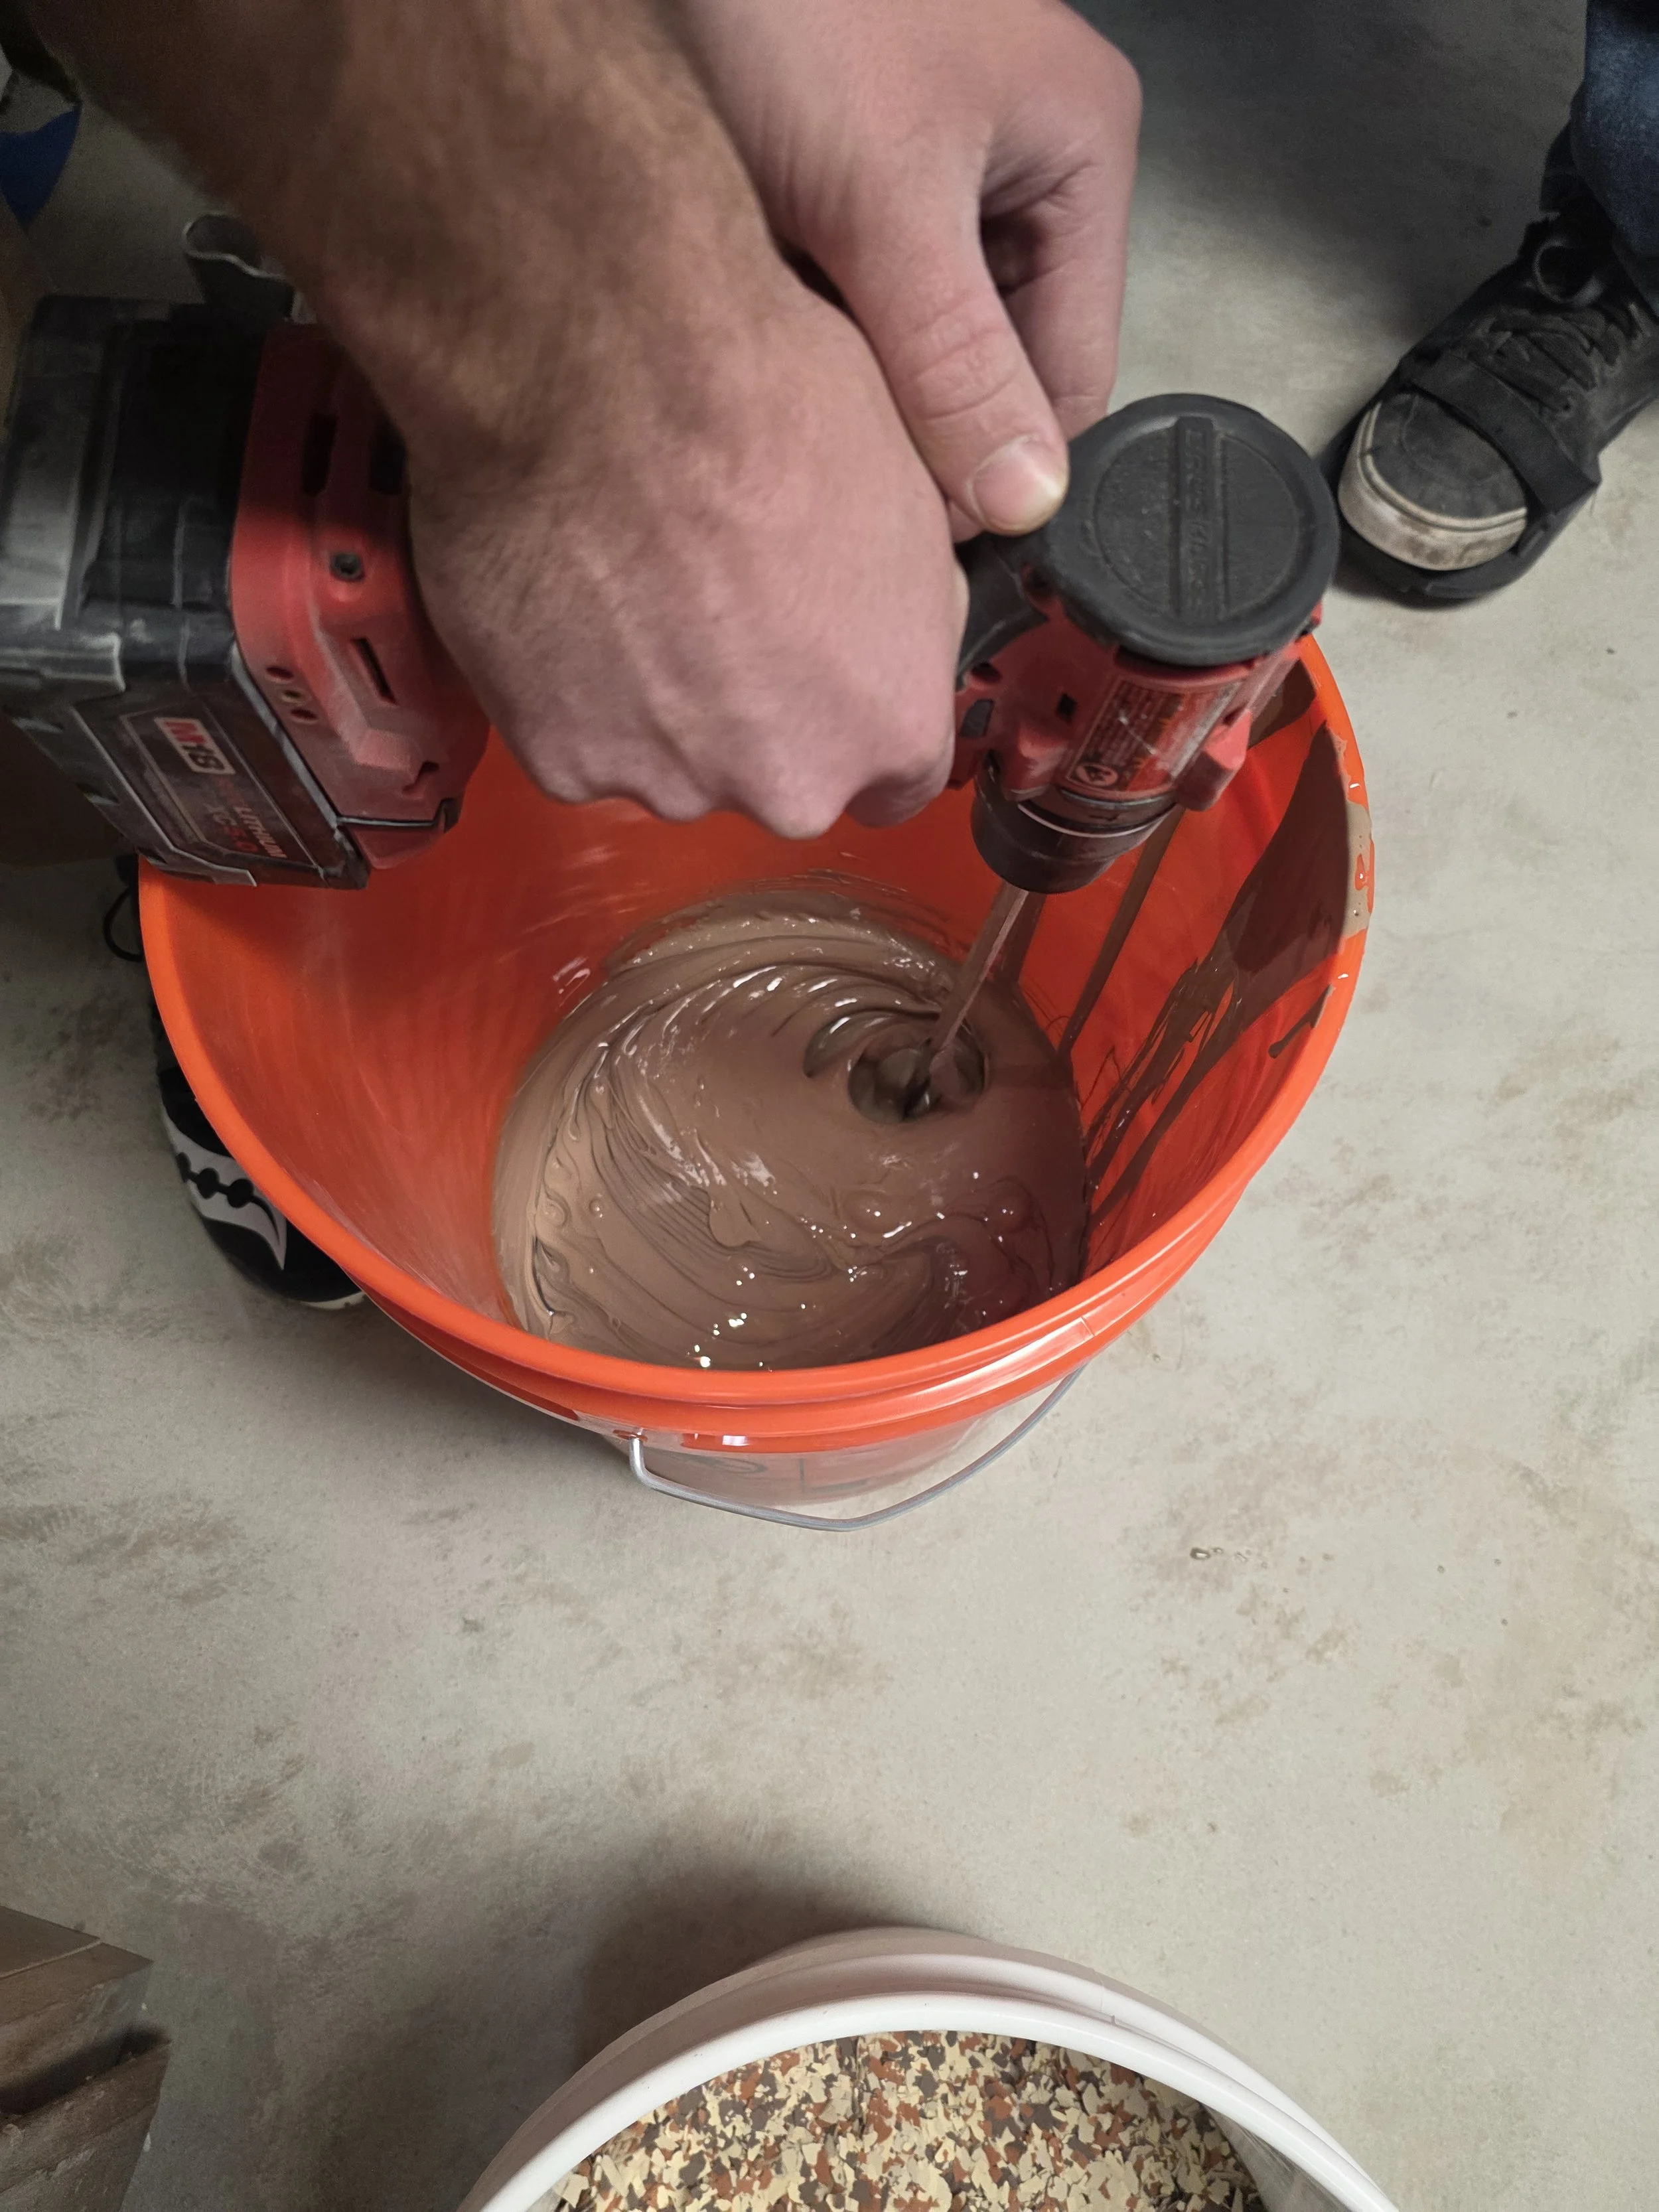
step #3: Epoxy
We mix and pour 100% solids high quality epoxy in the color of your choice. The epoxy is spread evenly and “back rolled” to ensure a thick even coat.
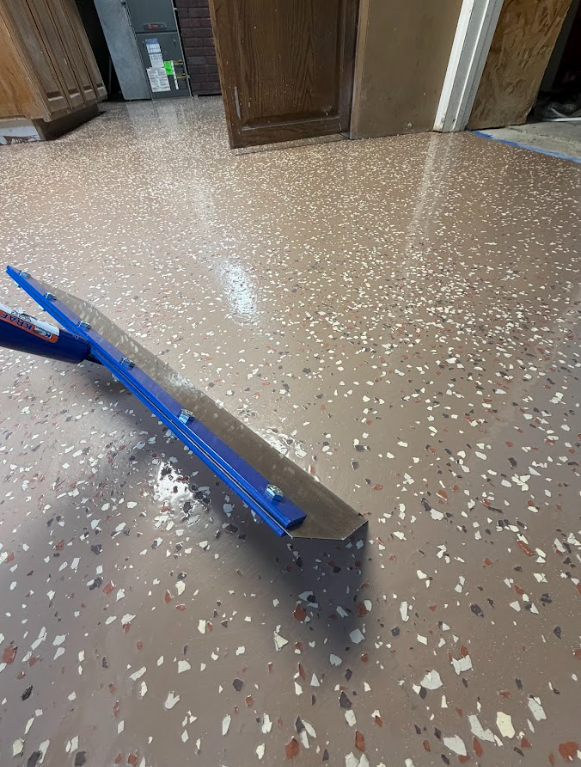
STEP#4: Spread Flakes
Vinal flakes in the color of your choice are spread evenly across the floor. The application thickness is entirely up to you! These add traction, hide dirt, and result in a clean unique look.
Step #5: Scrape and clean
We meticulously scrape and vacuum the cured floor to clean off excess flakes or trapped debris. This step guarantees your floor is 100% clean and smooth, providing the ideal surface for a flawless final protective topcoat.
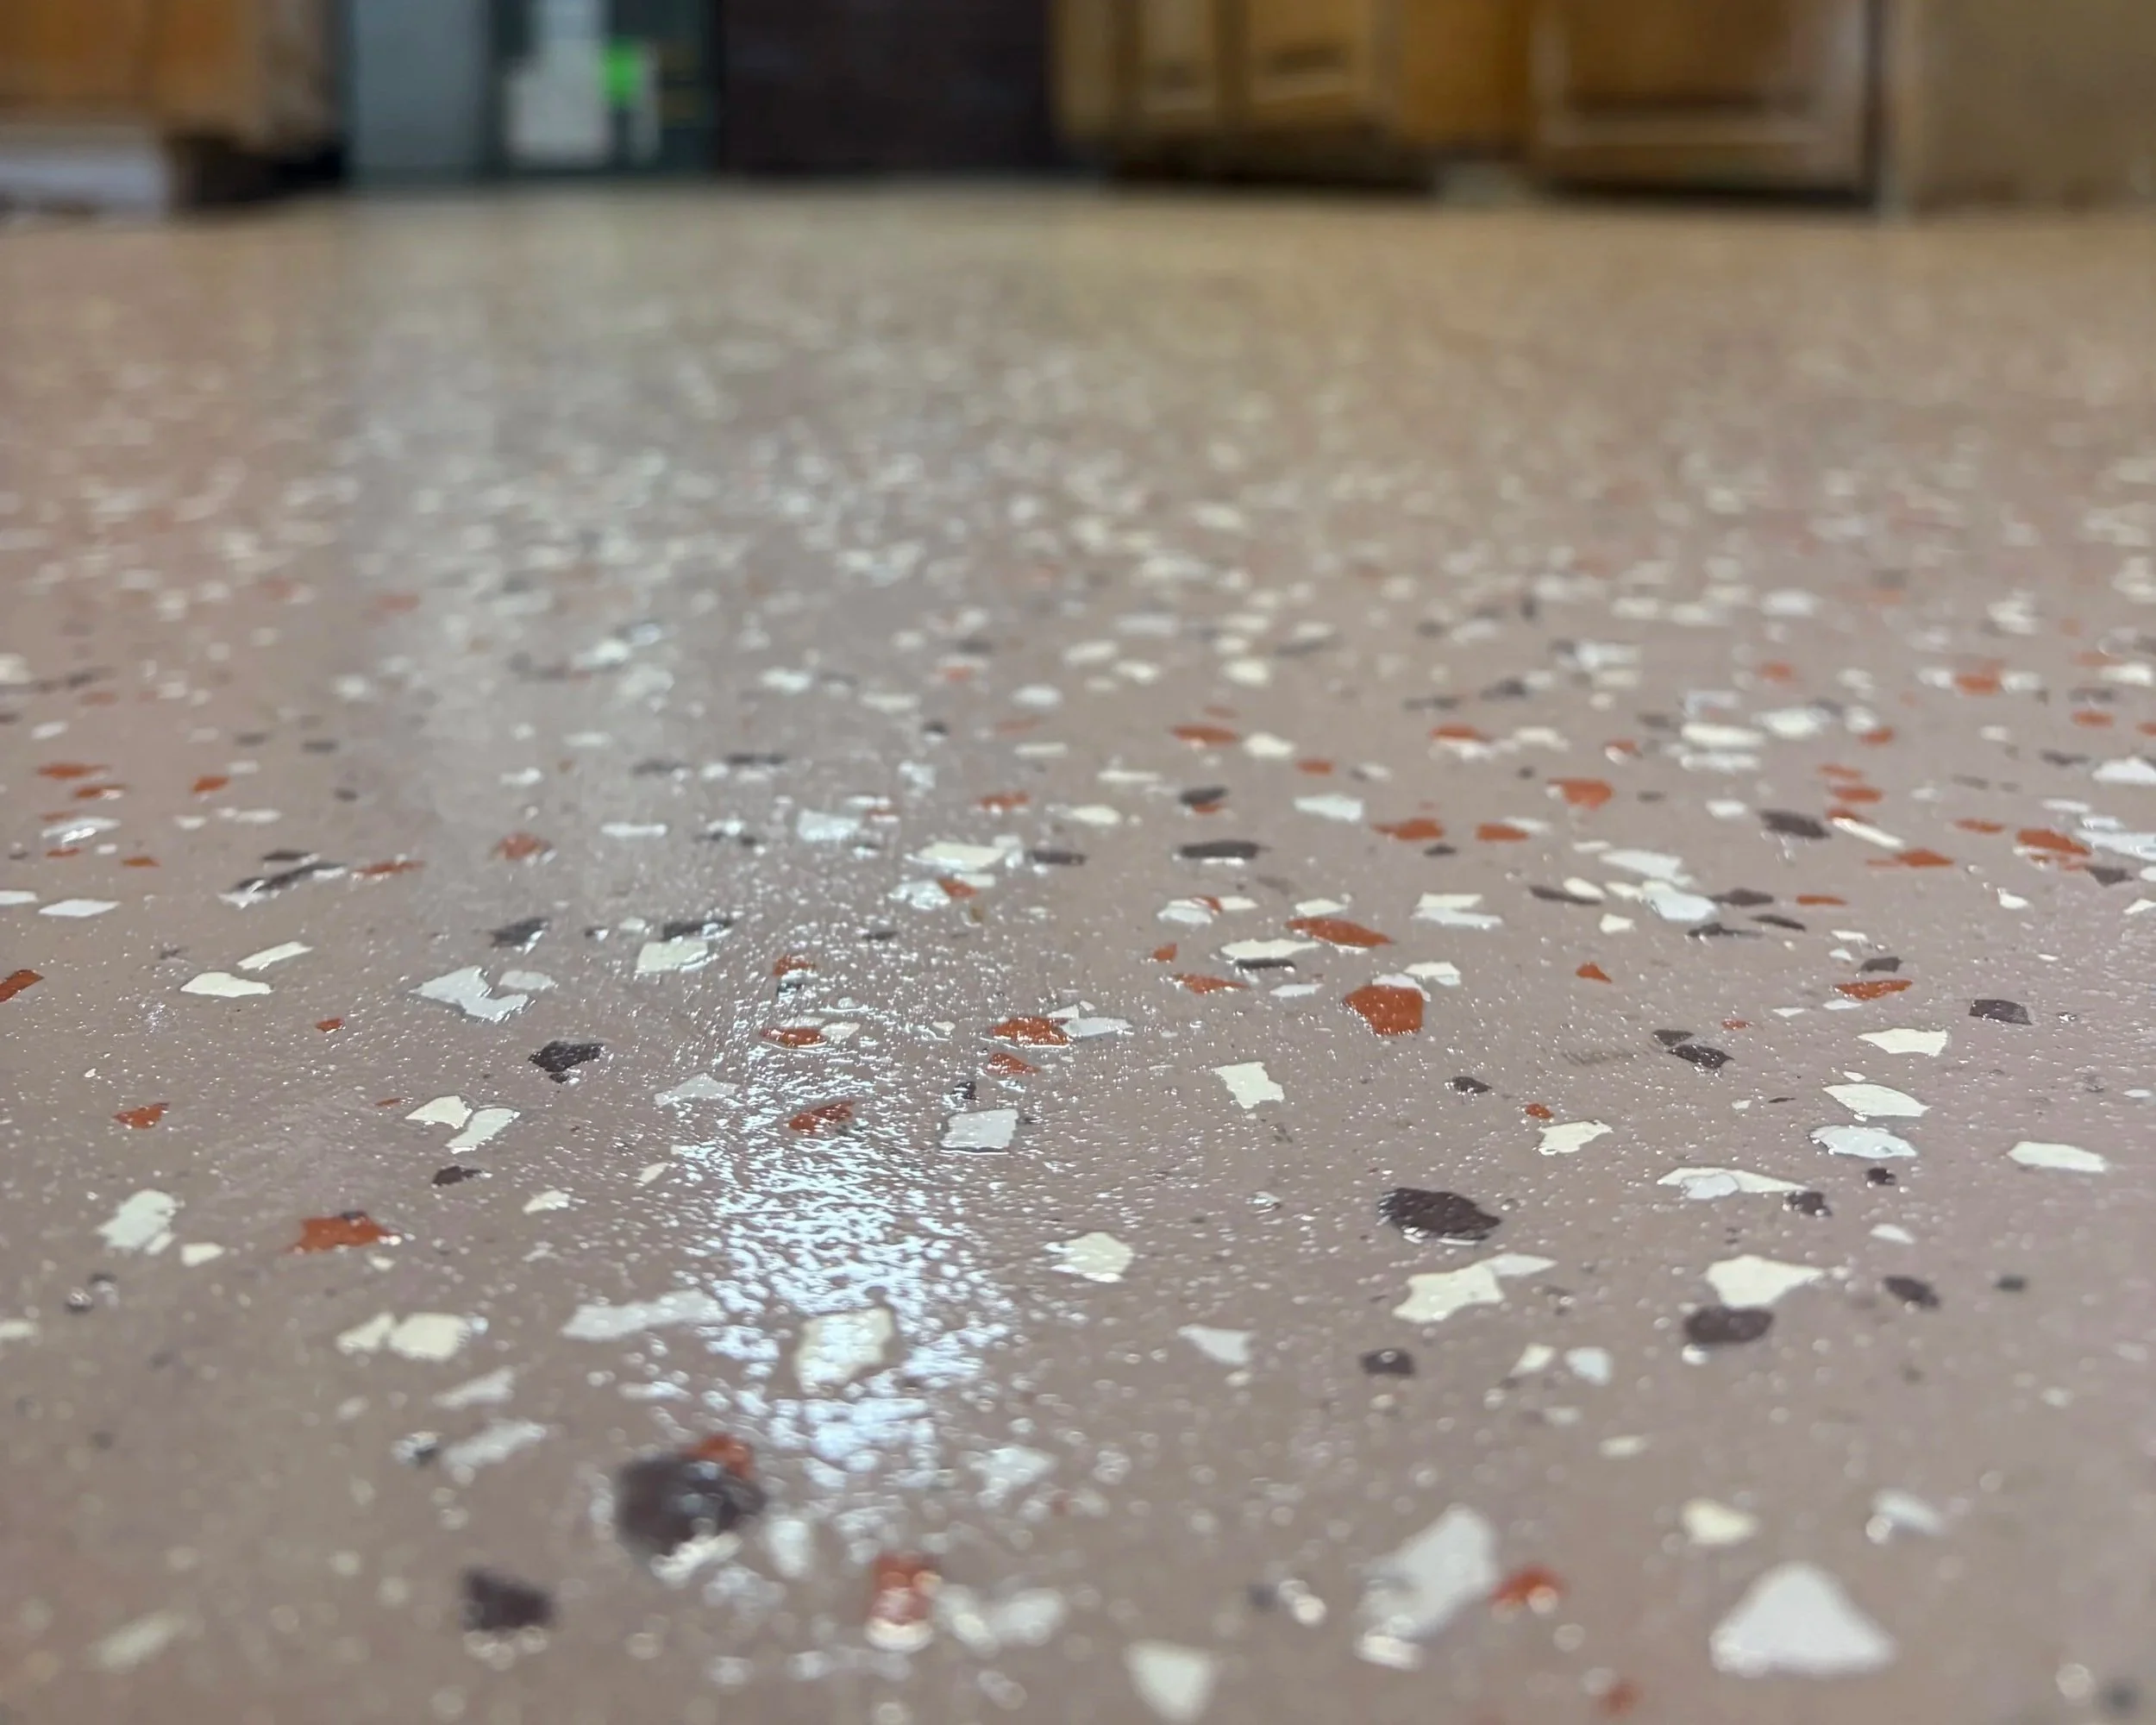
STep #6: Topcoat
To seal the floor off we add a thin clear topcoat that adds some traction while maintaining an easy to clean surface.
Contact us
Interested in upgrading your concrete space? Fill out some info and we will be in touch shortly. We can’t wait to hear from you!